Several years ago my sister gave me a lovely travel jewelry pouch as a present. She mentioned loving it so much she wanted one for herself too, but when she tried to find another one they no longer made them. Knowing that she was so fond of mine I thought it would be the perfect gift to make for her. Shouldn’t be too hard, right? It only required sewing 3 zippers on one item, binding multiple layers of interfacing and materials (a skill I have NOT mastered), and sewing VINYL (for the first time). But whatever, I could handle it… I thought.
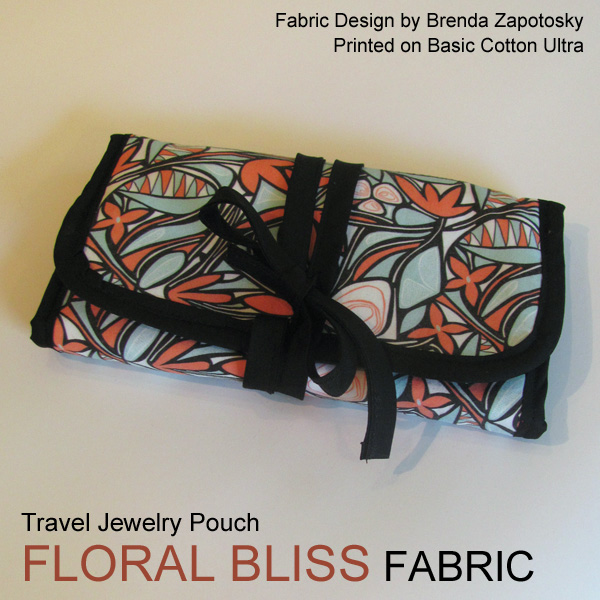
I found a pattern/tutorial online that was similar to my pouch, (and it seemed a little easier to make), so I went with that. It is officially called the Mini Jewelry Roll by Haberdashery Fun. You can also download a pdf version of the tutorial at the Pellon website. I used the pdf since I prefer looking off of a piece of paper rather than a device when I am sewing. I decided to make mine a little less mini, and it folds over itself rather than rolls, thus I am calling mine a pouch. But that really isn’t important. 🙂
Onto the sewing!
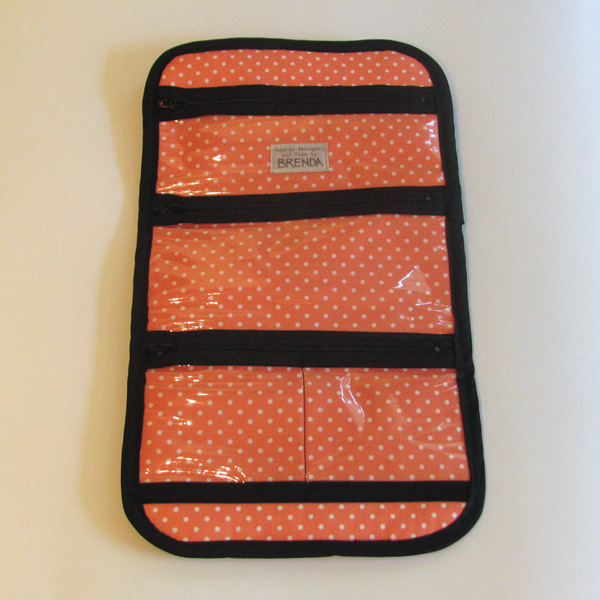
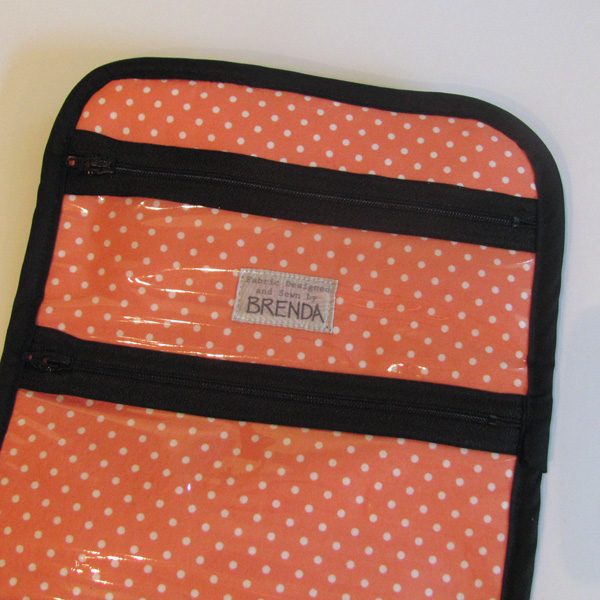
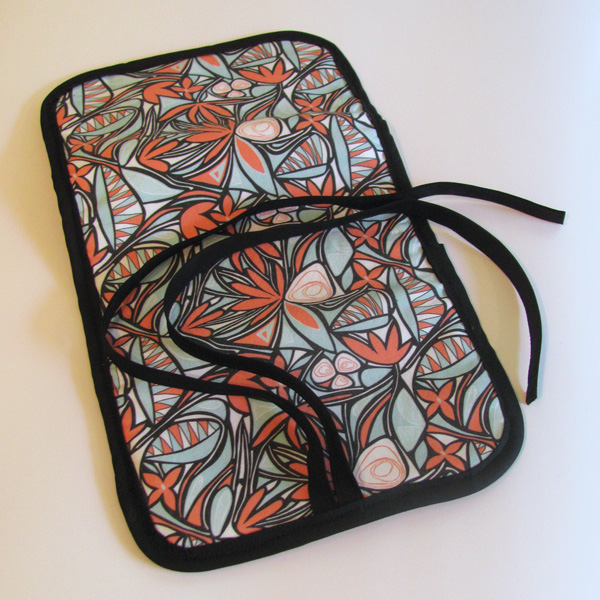
I asked my sister to give me a list of some of her current favorite fabrics in my Spoonflower Shop and I would pick from that list for her gift. (The actual fabric I went with remained a surprise, as did the gift itself, she did not know what I would be making when she made her list). Of her picks, I thought the Floral Bliss Coral and Mint (small scale) design would work well for this project. Since it did not have any coordinating prints I whipped up a simple matching polka-dot for the inside of the pouch. I chose black zippers and bias tape for the trimmings and really love how they pop against the prints.
Since I had enough length with my fabric and I know that my sister has a preference towards chunky jewelry, I decided to make my pouch a few inches longer than the instructions suggested, I THINK I added 4″ total in length (I should have written it down), giving each pouch section an extra inch in depth and the pouch itself an extra inch. The pouch is still nice and compact, but I think the extra room makes it a little bit more versatile.
Sewing the vinyl was much less difficult than I expected! For my first attempt, I followed the directions and sewed with the vinyl on top of the zipper edge (with no pins, etc. to hold it down). The results were not good. It was VERY wavy and did not lie flat. So I removed the zipper and came up with a new method instead. I decided to put the zipper on top as the finished “edge”. I liked the fabric of the zipper being the exposed piece instead of the vinyl edge and because the solid black was now on top, I could use Wash-Away Wonder Tape to hold it in place and it would not be seen. Normally I would not worry about the tape showing since as its name suggests it dissolves away when you wash it, but not knowing if this pouch would be washed I wanted to keep it hidden. Other than that change I pretty much followed the directions for the rest of it (with one other exception as you will see). Along the lines of the cotton ball suggestion, I did put a folded up wad of scraps in all of the pouches before sewing them down to help ensure they would not be too tight to hold chunky jewelry.
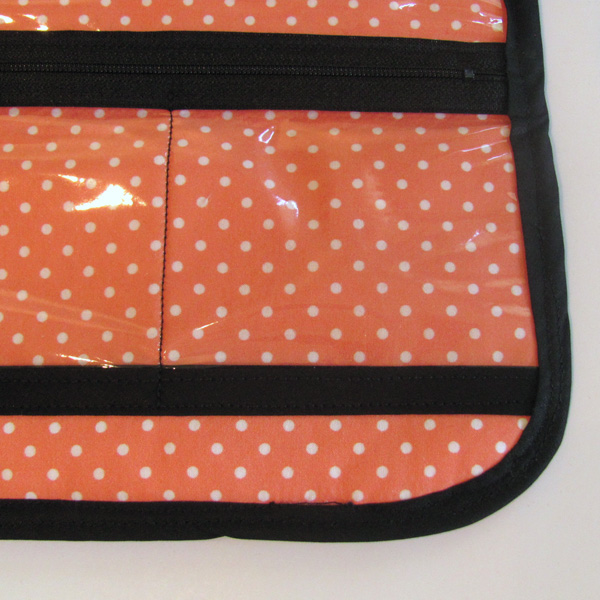
As hinted at above, sewing on the bias tape binding was my failure of the project. I need to blame this partially on the fact that I did not follow the instructions and sew it to the inside first before folding over to enclose the edge and top stitch on the outside. My mind got a little jumbled about whether bias tape (instead of classic quilt-style binding) could still work like this. And I didn’t think it was really necessary. (And maybe I was a bit impatient too…) I really, really, REALLY wish I would have done it. My single stitching along the binding did not catch all the edges on the inside and I ended up having to do a second line of stitching in places to catch it all. Had I done the inside stitch first, even though the top-stitching would have missed in places, it would have still had that first stitch to hold it down. The end result is quite ugly and definitely not up to my personal standards (especially for a gift). But if I had pulled it all out and started over it would have left a line of holes in the vinyl and I wasn’t sure if that would compromise the integrity of the piece. So, despite my disappointment, I left it. AND it doesn’t effect the function of the pouch at all. Yay for that!
Besides the ugly binding I am very happy with the end result. If I was to make one again (and I don’t see that happening anytime soon) I would want to have the zipper width better span the width of the pouch. Right now there are gaps on each side. (I kept the zipper and width exactly as instructed in the tutorial) Next time I would use the next size up from 7″ to 9″ zippers but only increase the width of the pouch by an inch. This would eliminate the gap. Otherwise it is a great tutorial. And despite the binding flaws, my sister LOVES it! And that is really all that matters.